

Learn
Browse through tips & tricks I’ve gathered after years of design, DIY & homemaking. From food to products to family fun, there’s a little bit of everything on the blog.
Looking for more inspiration?

BROWSE LATEST POSTS


FULL BLOG

BACK-TO-SCHOOL DINNER 2024
One of my very favorite times of year is when school starts again. The fresh school supplies, tidied backpacks, and structure speak to my soul (as does more time for myself).
One of my very favorite times of year is when school starts again. The fresh school supplies, tidied backpacks, and structure speak to my soul (as does more time for myself). New Year’s always feels a bit abrupt and out of place to me. My New Year’s is Back-to-School…which is probably why we celebrate it as a family.


Each year on the Sunday before school starts, I set a fun table and cook a family favorite for us to share one last summer meal and talk about what the year will bring. This year’s theme was “practice not perfection.” I made up some sweet little menus and had them printed on cardstock at Staples. I think printed menus are one of the simplest ways to make a meal feel fancy for low effort and expense! I printed mine in a 5x7” size, but you could do any size you like.

You can grab my eraser graphic below in two sizes. Print it as back-to-school art or print it on the flip-side of your menu! It’s yours for the taking.
Each setting included a paper placemat, a menu, a freshly sharpened pencil & a Pink Pearl eraser. I found the darling acrylic milk cartons in the Target Bullseye section months ago and knew they were made for our annual dinner. Keep your eye out for those throughout the year at Target, or there are these glass ones on Amazon. Blue gingham napkins my Grandma made me when I got married tied it all together.


For the centerpiece, I kept it simple. A white gauze table cloth is a great staple to have in your linen cabinet, because you can use it for any celebration you can think of. I gathered mine to be a runner, raided the fruit drawer for apples and used alphabet cookies as confetti (which, as it happens, is all my 2-year-old ate anyway). Some extra ribbon from teacher gifts looped down the middle added a little more dimension.
For food, I served my oldest’s favorite: grilled cheese & tomato soup. This soup recipe never fails me, and if you aren’t cooking your grilled cheese in the oven yet—repent. I used some parental license and added peas. For dessert? Warm chocolate chip cookies & ice-cold milk.
While we ate, we showed our kids the erasers and gave each member of the family a word that would be tricky for them to spell. When each person spelled the word wrong, we practiced erasing and trying again with help. We talked about perseverance & apologies and all the lovely things erasers can mean. Each year we try to have a conversation that will strengthen our kids for the challenges ahead. Then, each kid in school gets a pin for their backpack. For now, that’s just our Kindergartner, so he got a cute enamel tiger this year.

After dinner we have a special prayer as a family and call it a night. It’s a simple tradition that I’ve come to look forward to as much as any major holiday. I hope it’ll inspire you to add simple traditions that work for your family.
xo, Emma

DIY POCKET ADVENT CALENDAR
I have always loved the practice of an advent calendar. Big or small, I think it’s such a lovely way to turn hearts to Christ. I’ve done a lot of informal advents with my kids (think grocery store chocolate box), but this year I finally have my ducks in a row enough to think bigger.


I have always loved the practice of an advent calendar. Big or small, I think it’s such a lovely way to turn hearts to Christ. I’ve done a lot of informal advents with my kids (think grocery store chocolate box), but this year I finally have my ducks in a row enough to think bigger.
My main goals are to help my kids think of Jesus, serve other people & feel the magic of Christmas. It also needs to be SIMPLE because December as a mom is an Olympic event.
I’ve had my eye on this pocket advent calendar from Gathre for years, but I decided to go the DIY route. I ordered this one from amazon and added some numbers myself using my Cricut. (P.S. I’ll have a supply list at the bottom of the post, so don’t stress about making your own)
Next, I figured out what I wanted my advent cards to say. I decided to base them off of my favorite Christmas quote:
“This year, mend a quarrel. Seek out a forgotten friend. Dismiss suspicion and replace it with trust. Write a letter. Give a soft answer. Encourage youth. Manifest your loyalty in word and deed. Keep a promise, Forgo a grudge. Forgive an enemy. Apologize. Try to understand. Examine your demands on others. Think first of someone else. Be kind. Be gentle. Laugh a little more. Express your gratitude. Welcome a stranger. Gladden the heart of a child. Take pleasure in the beauty and wonder of the earth. Speak your love and then speak it again.” —Howard W. Hunter
Isn’t that lovely? This quote gave me just the right amount of prompts for the 24 days once I added a poem at the beginning & split the last task into two days. I made each prompt the size of a business card and printed them off at Staples, then cut them myself. You can download my prompt cards for free here.

Now that each day had a little theme, I went about finding items for the pockets. Some days are simple, some more elaborate. It keeps my kids on their toes! Here is the list with the prompts & what I put in each pocket:


Day 1: Poem about giving our hearts to Jesus, DIY felt/paper hearts or heart candy
Day 2: Mend a quarrel, bandaids
Day 3: Seek out a forgotten friend, red string or ribbon to tie around their little fingers
Day 4: Dismiss suspicion & replace it with trust, paper clips to build a little chain as a family & talk about trust
Day 5: Write a letter, crayons and paper we already have
Day 6: Give a soft answer, pom poms
Day 7: Encourage youth, the phone number of a cousin or friend to send a pep-talk to
Day 8: Manifest your loyalty in word & deed, paper crowns (crowns symbolize loyalty)
Day 9: Keep a promise, light-up rings (ring pops would work, too!)
Day 10: Forgo a grudge, faux olive branches
Day 11: Forgive an enemy, a little white dove
Day 12: Apologize, a bar of Dove soap
Day 13: Try to understand, a mini microscope (to see from another perspective)
Day 14: Examine your demands on others, a kid-friendly magnifying glass
Day 15: Think first of someone else, I didn’t want to make this too easy on them. I’m going to leave this day empty and have them help me come up with how they can do this.
Day 16: Be kind, pom pom bees
Day 17: Be gentle, toy sheep
Day 18: Laugh a little more, some handwritten silly jokes
Day 19: Express your gratitude, blank “thank you” notes
Day 20: Welcome a stranger, a small gift card to give to someone in need
Day 21: Gladden the heart of a child, punch balloons
Day 22: Take pleasure in the beauty and wonder of the earth, a ticket to play in the snow with Mom. If you know, you know.
Day 23: Speak your love, phone numbers of grandparents to call & some candy
Day 24: Speak it again, phone numbers of different grandparents to call & a clicker counter to help them count how many times they can say “I love you” throughout the day
Once I had all of my supplies, I tucked them in the little pockets. I wrapped a lot of them and kept some things like the dove and olive branch open for color and texture. I hung it up to one of my cabinets with a clear command hook and I can’t wait to use it with my kids! I’m hoping it’s a tradition that we can keep for years to come.
COST
I spent approx. $55 on this project. $25 for the pocket calendar and $30 for the items that go in it for two children. What’s great about this DIY is you could spend much more or much less depending on your goals for the tradition.
SUPPLY LIST
Felt numbers from a cricut or Etsy
Printed advent cards, cardstock, double-sided, flips on long edge
Felt/paper hearts
Red string or ribbon
Paper clips
Crayons & paper
Phone number of a cousin or friend to send a pep-talk video or voice message to
Ring pops
Dove soap bar
Handwritten or typed jokes
Blank “thank you” notes
A small gift card for someone in need
A “ticket” to play outside with a favorite grownup or another way to enjoy the outdoors
Phone numbers of various grandparents/loved ones they enjoy calling
And that’s it! It took me a few hours in total, but I’m hopeful it’s something we will use for years to come. I can’t wait to see their little faces each morning!
Enjoy!
xo, Emma

CHRISTMAS CARD FROSTING
I like to think of Christmas cards as small gifts I’m sending to loved ones. Because of that, I think it’s worth it to make each one feel special.
I like to think of Christmas cards as small gifts I’m sending to loved ones. Because of that, I think it’s worth it to make each one feel special.
From the envelopes to the pens I use to address them, I like to think the palette through. I typically have a design in my head each year, but this year I’m sharing my favorite Christmas card “frosting” items here so you can use them, too.
Before we jump into links, let’s talk postage. USPS releases different holiday stamps each year and some years are more aesthetically pleasing than others. 2023 is kind of a bummer year if you ask me. But never fear—as usual, Etsy has us covered. I bought stamps from a previous year here and they were actually less expensive than at the post office counter.
Now that we’ve got our stylish stamps, here are some other ways to dress up cards!

Green Envelopes: These are self-sealing, meaning you rip off a sticker strip and you don’t have to lick the envelope. A swap that is both beautiful & easier.
Handwritten Cards: Don’t feel up to sending dozens of cards this year? That’s not all bad. Pick up a pack of blank Christmas cards and add your own photo (or not!) to your favorite few.
Kraft Paper Envelopes: These are a long-time favorite of mine. They add such a lovely texture and warmth. Plus, they look darling with white ink.
Custom Address Stamp: This makes addressing Christmas cards quick & fun. It makes me feel like a fancy librarian. Plus, they work for years to come—a great investment.
Instant or Retro-Print Photos: I received a Christmas card from a friend last year that was handwritten and included a quick Polaroid-style snap of their family from an Instax camera (I see those for sale on Facebook Marketplace all the time!). It was my favorite card of the season. Fun cards do not have to be complicated or expensive!
Pre-made Wax Seals: Etsy sells tons of pre-made seals that have sticker-backs. Genius. This Santa one has my heart.
“Teacher Pen”: These are the MVP of Christmas card pens. I use others as well, especially if I want a white or metallic ink, but if I had to pick one pen to recommend, it would be this one. (P.S. They come in red & green, too).
Vintage Holly Sticker Seals: This Etsy shop has lot’s of different options (I bought the pine tree ones for my cards this year) at a great price point. I think a sticker seal adds some nice contrast to an envelope and makes the whole tiny package feel thought-out.
Washi Tape: I love these Rifle Paper Co. ones, but you could go for any washi tape. I’ve used it in years past to seal my envelopes in lieu of stickers & it’s a great option to add some color.
Custom Embosser: I don’t have one of these, but I’ve had my eye on them for a while now. I think it’s such a fun tool to have in your stationery tool-kit. I would use it on the back of an envelope instead of a seal for an luxe feel, but you could also use it on a basic pack of craft store notecards to create your own blank Christmas cards.
Gold Foil Edge Envelopes: Don’t these look like they came straight from the North Pole? I think these would easily take Christmas cards to the next level. Who wouldn’t be excited to see this in their mailbox?
I could talk stationery all day long, but hopefully these products give you some good inspiration for your card-sending this season. Let me know how it goes!
xo, Emma

OUR FAMILY HALLOWEEN COSTUME
This year, I have a feeling it may be my last chance to influence what my oldest son wants to be for Halloween, so I am milking it for all it’s worth. My boys have been very into Peter Pan lately & we just finished the audible production, so it was a natural choice for a group costume.
Last Halloween we had just moved (like 3 days earlier) to Colorado from Utah, so our costumes were thrown together and low-key. Some farmers, a milk maid & a cow. Done. 10/10 recommend for a busy year.
This year, I have a feeling it may be my last chance to influence what my oldest son wants to be for Halloween, so I am milking it for all it’s worth. My boys have been very into Peter Pan lately & we just finished the audible production, so it was a natural choice for a group costume. Honestly, just manifesting that they never ever grow up.

“Young boys should never be sent to bed. They always wake up a day older, and then before you know it, they’re grown.”
— J.M. Barrie, Peter Pan
Our ensembles are a mix of new purchases, thrifted items, and DIY’s (so basically the same mix as my house!). I love a Halloween costume that doesn’t feel straight from Spirit of Halloween, ya know? Something you can’t buy or find anywhere else after everything has been put together (Hey! Also how I style a home!).
For Peter Pan, I originally sewed a costume out of some estate sale fabric, but it was way too small so I went to Hobby Lobby and bought some felt to make a costume based on this tutorial. One of the easiest sewing how-to’s I’ve ever done. You can do it, promise. Since we live in a chilly fall state, I bought some green ribbed jammies from Shein to go underneath his little tunic, then these moccs from Amazon. A little brown ribbon belt finished everything off.


We already owned a Captain Hook costume, but the coat was too small, so we thrifted this coat and kept the accessories from the previous costume. We added the Shein wig, which really sells it. Who knew they had such cheap wigs? The DIY part of his costume is the shoes. We found some adult tap shoes at the thrift store, then glued on shiny paper buckles—voila!
Mr. Smee was an extra good sport this year—anything for the kids! I bought this shirt on Amazon and used one of my tank tops with a pillow underneath for his belly, plus some shorts & shoes he already owned. I thrifted the hat, then added a pom pom because after a lot of family discussion, it was decided that the pom pom was not optional. Some wire frame thrift-store glasses added the final touch.
And that brings us to my costume, Wendy. Can I just say that I loved being Wendy? She is feminine and she wears fancy jammies. My kind of woman. I also enjoyed having a costume that didn’t require tons of makeup. I bought a blue nightgown from, you guessed it, Shein and some fluffy slippers from Temu. I topped it off with this big blue bow.
All told, it’s my favorite family costume yet. The kids each got to be something they loved that fit their personality & the grown-ups got to add to the fun. Hope this helps your future Halloweens!
xo, Emma

CLASSY HALLOWEEN STYLING
Halloween is a favorite of mine. It was never a gory or garish affair growing up. It was popcorn balls & elaborate pumpkins. It was homemade costumes & glittery cheeks. When I think of October, I think of, well, FUN! The wholesome, good-old-fashioned kind
Halloween is a favorite of mine. It was never a gory or garish affair growing up. It was popcorn balls & elaborate pumpkins. It was homemade costumes & glittery cheeks. When I think of October, I think of, well, FUN! The wholesome, good-old-fashioned kind.
Part of the fun is the decorations! Living in the holiday makes a difference for me and my family. Would Christmas feel nearly as magical without the trimmings? No. Other holidays are no different.

MY FALL DECOR CATEGORIES
When decorating my home for the fall, I like to stick to two categories of decor:
General fall decor: These are the items that are going to be up through Thanksgiving. Pumpkins, earthy tones, etc.
Just Halloween items: Unlike the general fall items, these will only be up through Halloween
By sticking to these separate categories, I can easily take down category #2 after Halloween and be done decorating for Thanksgiving. Voila!
Because who needs one more thing to do in November? Nobody. That’s who.
ANYWAYS! Halloween. We’re thinking simple. We’re thinking classy (read: NO CLOWNS). So here are some of my tried-and-trues…

SPIDERWEBS
Stretch these out more than you’re naturally inclined to. It takes cheap spiderweb filler from “Party Store” to “Classy Mansion” in two minutes.

BATS & CROWS
Target & Amazon both sell stick-on bats and crows. One package is not enough. Trust me. Sometimes, the difference between blah and BAM is quantity when it comes to simple decor. I used around 40 crows on my display this year. It set my back $4 and a few minutes.

SILLY TOUCHES
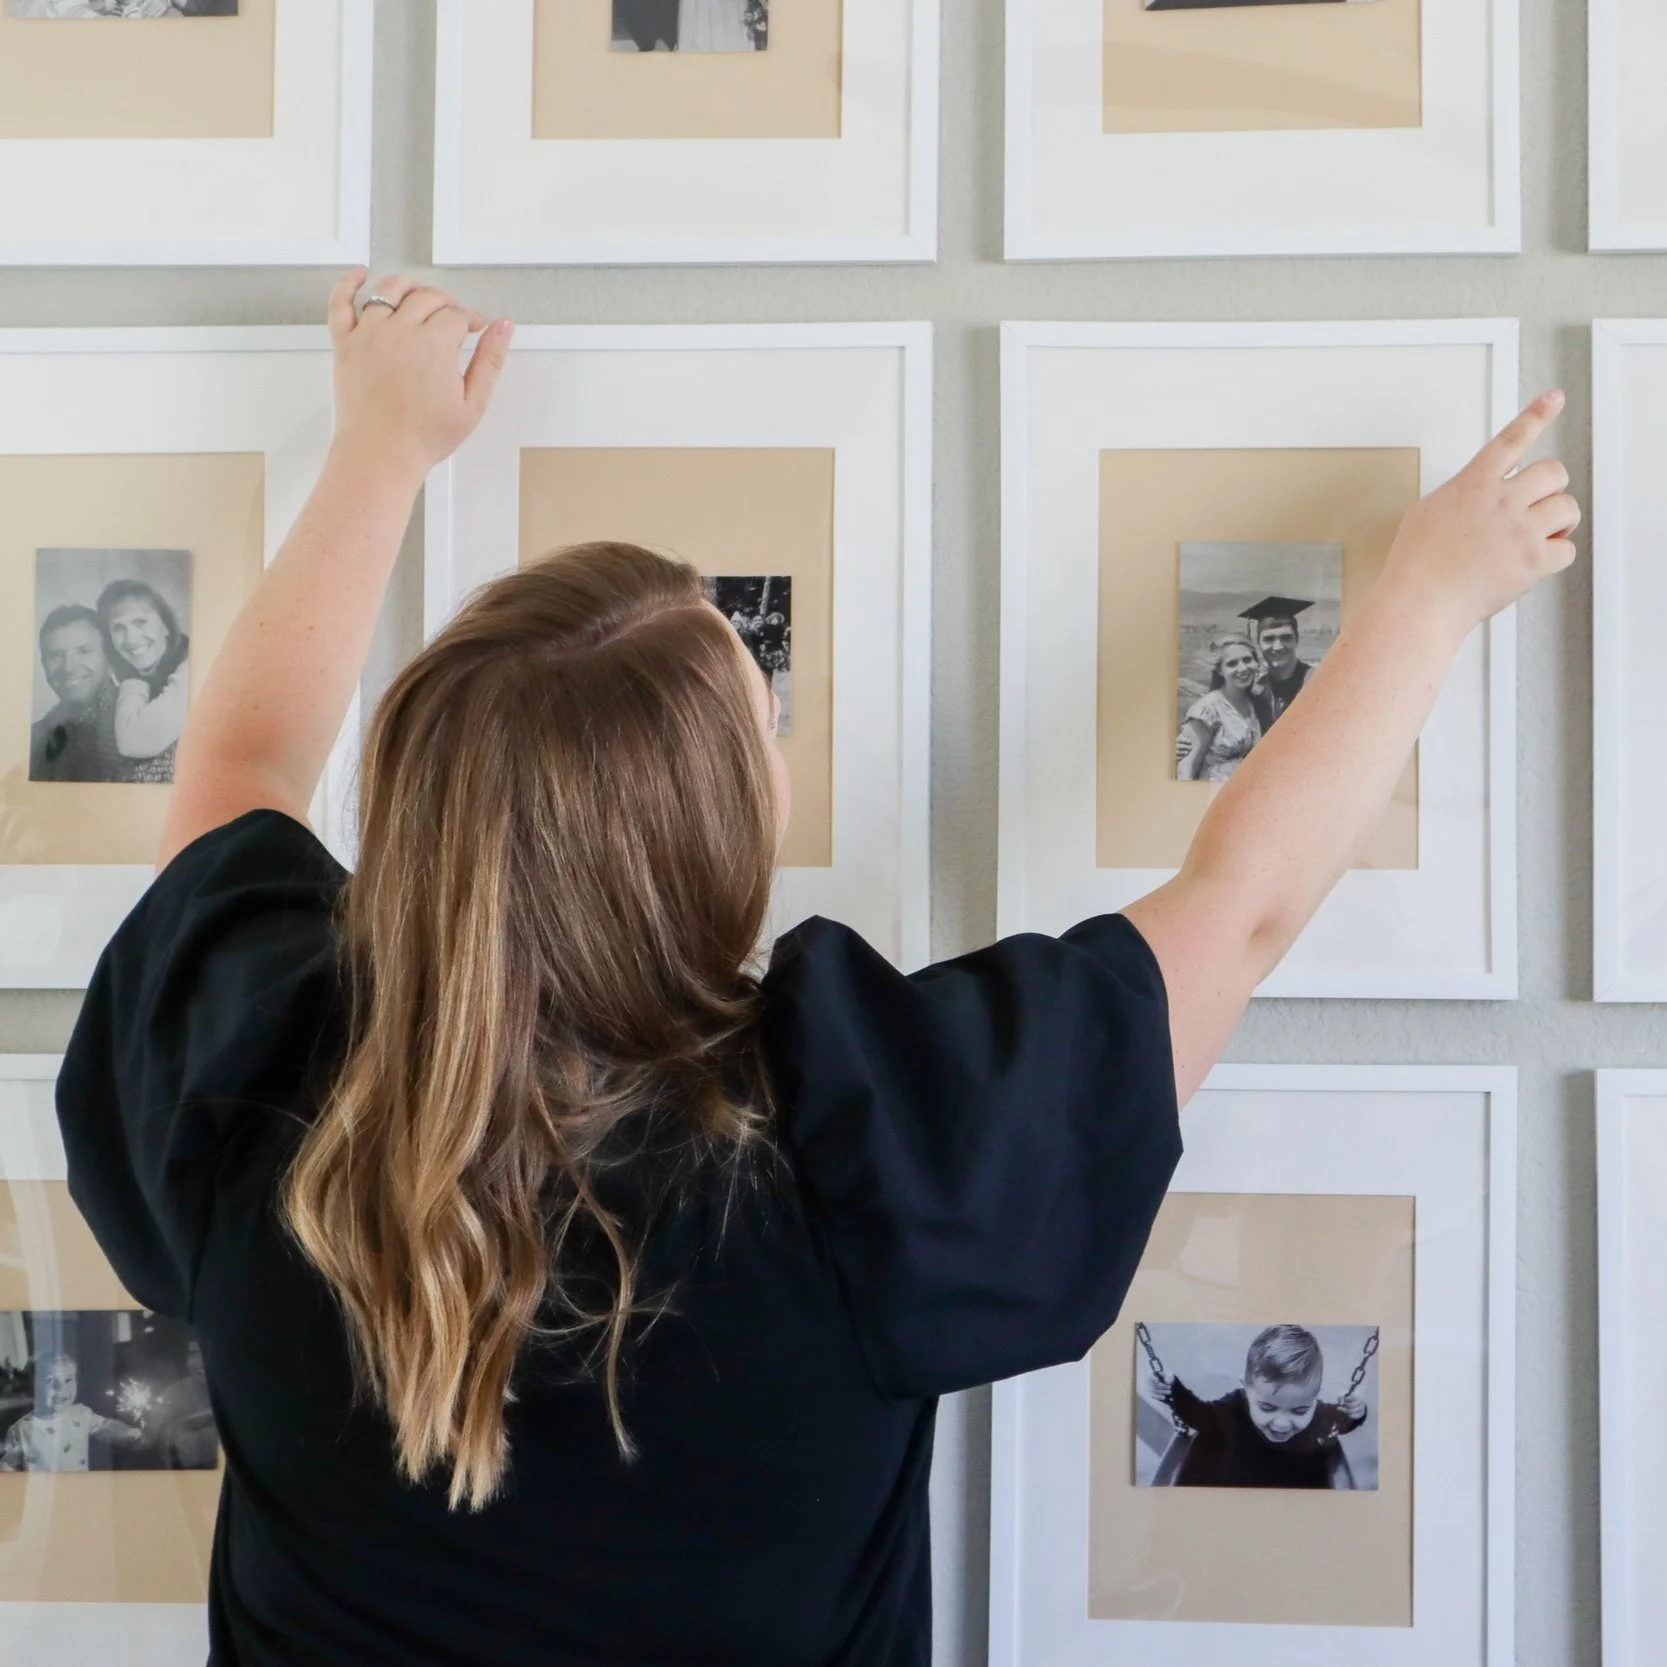
Sometimes it’s good to think small. Tack a little paper ghost to an existing art print. Make a paper mask for that sculpture bust or family photo. Kids are suckers for tiny details. You’ll be a hit.

KID SPACES
Speaking of kids…don’t forget their stomping grounds. The playroom, their bedrooms, even their bathrooms! Of all the people who will love your decorating effort, it’s them. And if you’re like me and struggle with control issues including kids in the styling process, their spaces are the perfect place to give them free reign an ounce or two of design freedom.
Happy decorating! May you have the most magical of Halloweens.